Blog Configuration on Icarus Theme
Blog Configuration On Github
1. Setup
- initialize Hexo project in the target
<folder>
1 | $ hexo init <folder> |
2. Install Icarus Theme
- To install Icarus as a node package via NPM, run the following command from the root of your Hexo site:
1 | npm install -S hexo-theme-icarus hexo-renderer-inferno |
- Use the
hexocommand to change the theme to Icarus:
1 | hexo config theme icarus |
3. Theme Configuration
Icarus’ default theme configuration file is _config.icarus.yml.
3.1 Overall style configuration
Version
This version of the theme configuration file is not advised to change by yourself, determining whether to upgrade the theme configuration.
1 | version: 5.1.0 |
Theme Variant
default and cyberpunk determine the skin of Icarus theme. default has always been suggested if you want to make a acadmic style blog.
1 | variant: default |
Logo
The logo of your site will display on the navigation bar and the footer. The value of the logo can either be the path or URL to your logo image:
1 | logo: https://ms-blogimage.oss-cn-chengdu.aliyuncs.com/picture/img/EBlog202306222351609.png |
Favicon
Set a icon for your blog website in the form of URL or path to the website’s icon.
1 | head: |
Navigation Bar
The navbar section defines the menu items and links in the navigation bar.
- You may put any menu item in the navigation bar by adding
: to the menu setting. - To put links on the right side of the navigation bar, add
: to the links setting.
1 | navbar: |
Footer
The footer section defines the links on the right side of the page footer. The link format is exactly the same as links in the navbar section.
1 | footer: |
3.2 Article configurtion
Code Highlight
- You can choose a theme from all themes listed under
highlight.js/src/stylesto customize the code blocks. Copy the file name (without the .css extension) to the theme setting. - To hide the “copy” button of every code block, set
clipboardtofalse. - If you wish to fold or unfold all code blocks, set the
foldsetting tofoldedorunfolded.
1 | highlight: |
Read Time
You can show a word counter and the estimated reading time of your article above the article title by setting readtime to true in the article section.
1 | article: |
Update Time
set update_time to true in the article section of your theme configuration file to show every article updated time.
1 | article: |
Article Licensing
You can show a section at the end of your posts/pages describing the licensing of your work. Both text and icons are accepted as license links.
1 | article: |
Sidebar
To make a sidebar fixed when you scroll the page, set the sticky setting of that sidebar to true in the sidebar section.
1 | sidebar: |
3.3 Widgets Configuration
Profile Widget
- Set multiple
author_titleand display by rows and set font-family inhexo-theme-icarus\layout\widget\profile.jsx
1 | {author ? <p class="title is-size-4 is-block" style="line-height: 'inherit'; font-family: Times New Roman">{author}</p> : null} |
1 | # Author title |
- Set
social_linksusing Font Awesome Icons
1 | social_links: |
4. Configure Home Page on the Site
In the normal case, the default home page includes some abstacts of blogs. However, in some case we want to to display our information or introduction about the website. That’s the time when we need to individually configure the home page.
- Create a
index.mdanticle under thesourcedirectory
This is an anticle used for our individual content to be display on the home page. - Modify
index_generatorin the file of_config.yml
We need to modify theindex_generator:pathto an invalid value for exampledefault-indexin order to shield the default home page. - Add the
homepage to the website
In the configuration file of theme, we can add an item ofhomeundermenuitem. And then set thehomevalue like/ || fa fa-homeif we need an icon for the home page.
5. Open the Gallery
If we want to display multiple pictures in the gallery, we can use the following code to open the gallery.
1 | <div class="justified-gallery"> |
主题魔改
自定义 ICON 图标
Hexo + Icarus 采用 FontAwesome 图标,但很多图标实际上并未包含,包括国内的 、 以及 以及国外的 ,尤其是我们想自定义地引入一些 icon 的话也不能够实现,所以我们需要让 hexo 添加对这些网站图标的支持,使博客正常显示他们图标。
- Step 1: 下载图标
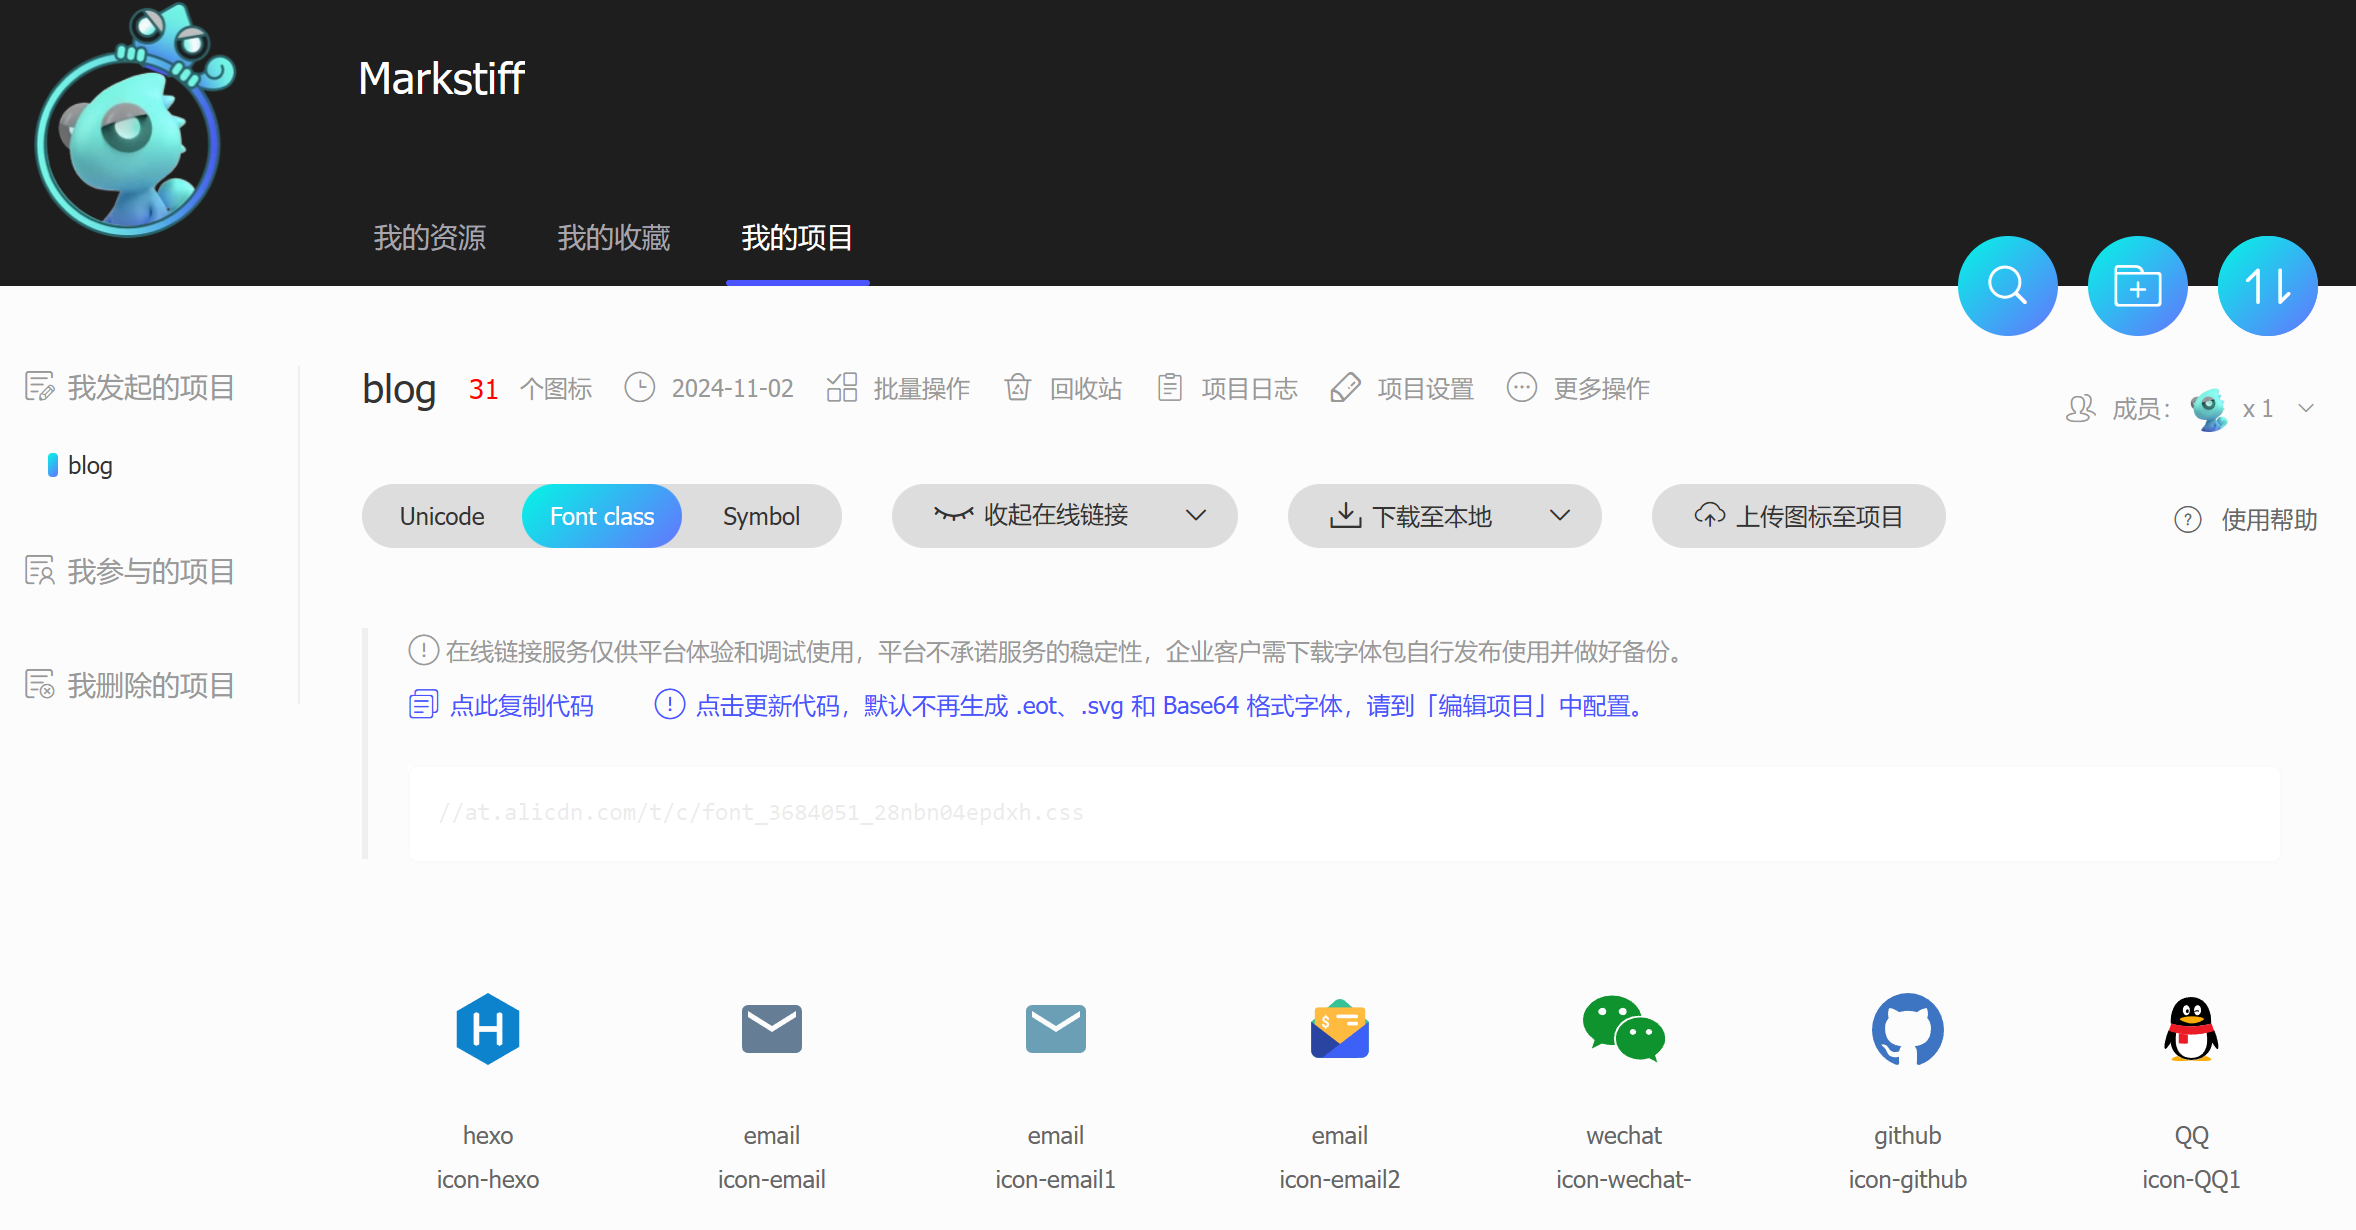
最开始的准备是收集所需的图标,最常用的网站库还是阿里的矢量库 Iconfont,搜索选择所需的图标,不断添加到购物车。
选购完毕后,再选择 Add to Project,让选择的图标添加到你的一个项目中。

在项目中,选择 Font class,然后下载至本地即可,将其保存至主题目录themes\icarus\source\css 文件夹中,解压并重新命名为 icons。如果想对下载的图标的颜色、大小等进行修改,则打开所下载的文件,找到对应项进行修改。
Step 2: 配置图标
我们需要在主题中引入所下载的图标库,在主题目录下themes\icarus\layout\common\head.jsxw文件中,在<link rel="stylesheet" href={iconcdn()} />下方添加<link rel="stylesheet" href="/css/icons/iconfont.css"></link>,添加后如下所示:1
2<link rel="stylesheet" href={iconcdn()} />
<link rel="stylesheet" href="/css/icons/iconfont.css"></link> // add the iconfont然后需要具体添加图标,主要在于图标 icon 的大小位置配置需要与 icarus 主题原生的 icon 相容,所以首先需要统一配置引入的 icon 的大小,具体在
themes\icarus\source\css\icons\iconfont.css中配置大小为 24px,如下所示:1
2
3
4
5
6
7.iconfont {
font-family: "iconfont" ;
font-size: 24px;
font-style: normal;
-webkit-font-smoothing: antialiased;
-moz-osx-font-smoothing: grayscale;
}统一配置的大小全局有效,但是具体图标下面配置后,全局配置就会被覆盖,所以对于导航栏的图标,需要额外配置的参数如下,
1
2
3
4
5
6
7.icon-github:before {
content: "\ea0b";
font-size: 14px;
display: flex;
align-items: center;
margin: 0;
}对于
Profile的图标也需要进一步地调节大小,配置的参数可以参考如下:1
2
3
4.icon-QQ1:before {
content: "\e667";
font-size: 20px;
}Step 3: 使用图标
- 使用图标主要是在配置文件和博客文章两个地方,在博客配置中,直接配置相应的icon即可,
iconfont icon-xxx; - 在博客文章中,需要引入
<i class="iconfont icon-bilibili"></i>即可; - 如果需要在引用时配置图标大小,可以这样指定:
<i class="iconfont icon-github7" style="font-size: 20px;"></i>。
- 使用图标主要是在配置文件和博客文章两个地方,在博客配置中,直接配置相应的icon即可,
引入霞鹜文楷中文字体
Icarus 主题默认使用谷歌的 cdn,因此字体样式只能从其中选择,引入霞鹜文楷中文字体首先需要制作一个字体的 cdn 用于引用,这个可以直接利用项目 lxgw-wenkai-screen-webfont 中的 cdn,在博客配置文件中引入即可。
Step 1: 引入字体 CDN
在主题目录themes\icarus\layout\common\head.jsx文件中,找到const fontCssUrl,然后将其修改为:1
2
3
4
5const fontCssUrl = {
default: 'https://cdn.jsdelivr.net/npm/lxgw-wenkai-screen-webfont@1.7.0/style.css',
// default: fontcdn('Ubuntu:wght@400;600&family=Source+Code+Pro', 'css2'),
//cyberpunk: fontcdn('Oxanium:wght@300;400;600&family=Roboto+Mono', 'css2')
};霞鹜文楷中文字体的 CDN 有许多版本,可以选择最新的配置。
Step 2: 配置字体
在主题目录themes\icarus\include\style\base.styl文件中,找到$family-sans-serif,然后将其修改为:1
2$family-sans-serif ?= Times New Roman, LXGW WenKai Screen /* serif Georgia */
$family-code ?= LXGW WenKai Screen, Cambria, 'Source Code Pro', monospace, 'Microsoft YaHei'其中
Times New Roman首先匹配英文字体,无法匹配中文字体,然后会找到第二个字体样式LXGW WenKai Screen匹配中文,这样就可以在 icarus 主题中引入霞鹜文楷字体了。
Blog Configuration on Icarus Theme